
How to Add a Contact Form to a Static Site (No Backend Required)
Static sites have a well-known gap: when a visitor hits Submit, the form POST goes nowhere. There is no server to receive it, validate it, or forward it to your inbox. You can host a blazing-fast site on Netlify, GitHub Pages, or Cloudflare Pages and still be stuck on this one problem — unless you route your form submissions through a dedicated form backend.
A form backend accepts your POST, stores the submission, and emails it to you. You do not run any server code. You do not manage a database. You paste one hidden input into your HTML and you are done. This guide walks through the complete setup using PortForm, covers the same steps for Astro, Hugo, Jekyll, and Next.js static exports, and compares the free tiers across the main services so you can pick the right one.
Here's the minimal form that works:
Key Takeaways
- Plain HTML
<form action="...">submits work without any JavaScript — that is the default, not a fallback.- PortForm's free tier resets on a rolling 30-day window, not a calendar month, so you never lose quota mid-period.
- Spam submissions caught by the built-in honeypot do not count against your monthly quota.
- Setup takes under 5 minutes: create account, copy your access key, add one hidden input.
See also: what is a form backend
The Minimal Working Form
Start here. No JavaScript, no fetch, no framework. This works in every browser, in every static site generator, even with JavaScript disabled.
<form action="https://portform.co/api/submit" method="POST">
  <input type="hidden" name="access_key" value="YOUR_KEY">
  <input type="text" name="name" placeholder="Your name" required>
  <input type="email" name="email" placeholder="Your email" required>
  <textarea name="message" placeholder="Your message" required></textarea>
  <!-- Honeypot: leave this blank -->
  <input type="checkbox" name="botcheck" style="display:none" tabindex="-1" autocomplete="off">
  <button type="submit">Send message</button>
</form>
What each field does:
action="https://portform.co/api/submit"— the endpoint that receives your POST. The/api/submitpath is a permanent alias and will not change.name="access_key"— your routing ID. It tells PortForm which account and form to file this submission under. It is public by design, the same way a web3forms key is public.name="botcheck"— the honeypot. Real users never see or fill this field. If a bot checks it, the submission is discarded before it touches your quota.
To redirect visitors to a thank-you page after submission, add one more hidden input:
<input type="hidden" name="redirect" value="https://yoursite.com/thanks">
Without a redirect, PortForm shows a default confirmation page. Either way works.
Fetch API Version
If you are building an SPA or want to show an inline success message without a page navigation, use the fetch API instead:
<form id="contact-form">
  <input type="hidden" name="access_key" value="YOUR_KEY">
  <input type="text" name="name" placeholder="Your name" required>
  <input type="email" name="email" placeholder="Your email" required>
  <textarea name="message" placeholder="Your message" required></textarea>
  <input type="checkbox" name="botcheck" style="display:none" tabindex="-1" autocomplete="off">
  <button type="submit">Send message</button>
  <p id="result" aria-live="polite"></p>
</form>

<script>
  document.getElementById('contact-form').addEventListener('submit', async (e) => {
    e.preventDefault();
    const result = document.getElementById('result');
    result.textContent = 'Sending...';

    const res = await fetch('https://portform.co/api/submit', {
      method: 'POST',
      headers: { 'Content-Type': 'application/json', 'Accept': 'application/json' },
      body: JSON.stringify(Object.fromEntries(new FormData(e.target)))
    });

    const data = await res.json();
    result.textContent = res.ok ? 'Message sent.' : (data.message || 'Something went wrong.');
  });
</script>
When you send Accept: application/json, PortForm returns JSON instead of redirecting. The message field in the response body describes the error when the status is not 2xx.
Free Tier Comparison
The main services differ mainly in how many free submissions they give you and what resets the counter.
See also: full plan comparison
| Service | Free submissions | Reset logic | Spam counts against quota? | Plain HTML support |
|---|---|---|---|---|
| PortForm | 300 / rolling 30 days | Rolling window from account creation | No (honeypot-caught spam is free) | Yes — default |
| web3forms | 250 / mo | Calendar month | Not stated | Yes |
| Formspree | 50 / mo | Calendar month | Not stated | Yes |
| Netlify Forms | 100 / mo (legacy plans); free on new credit-based plans | Calendar month | Not stated | Yes (Netlify-hosted only) |
| Basin | 50 / mo | Calendar month | Not stated | Yes |
Competitor limits verified October 2026 against each service's public pricing page.
On the rolling window: PortForm resets your quota 30 days after your last reset, not on the first of the month. If you launch on October 15, your first reset is November 14, not November 1. You never waste quota because you launched mid-month and burned half your window before it reset.
On spam: The honeypot is built into the form snippet above. Submissions it catches are dropped before they touch your storage or your quota count. You get the full 300 submissions for real contacts.
See also: pricing details and Pro plan
Setting Up PortForm in 5 Minutes
Step 1: Create Your Account and Copy Your Access Key
Go to portform.co and sign up with email or Google. After signing in, the dashboard prompts you to create your first form. Give it a name (e.g. "Contact") and enter the email address where submissions should land.
Once the form is created, you will see your access key — a string that looks like abc12345-.... Copy it. This is the only value you need from the dashboard to make submissions work.
Step 2: Add the Hidden Input to Your Form
Replace YOUR_KEY in the snippet with your actual access key:
<input type="hidden" name="access_key" value="abc12345-xxxx-xxxx-xxxx-xxxxxxxxxxxx">
That is the only required change to your HTML. The form action, method, and honeypot field stay exactly as shown in the minimal example above.
Step 3: Test With a Real Submission
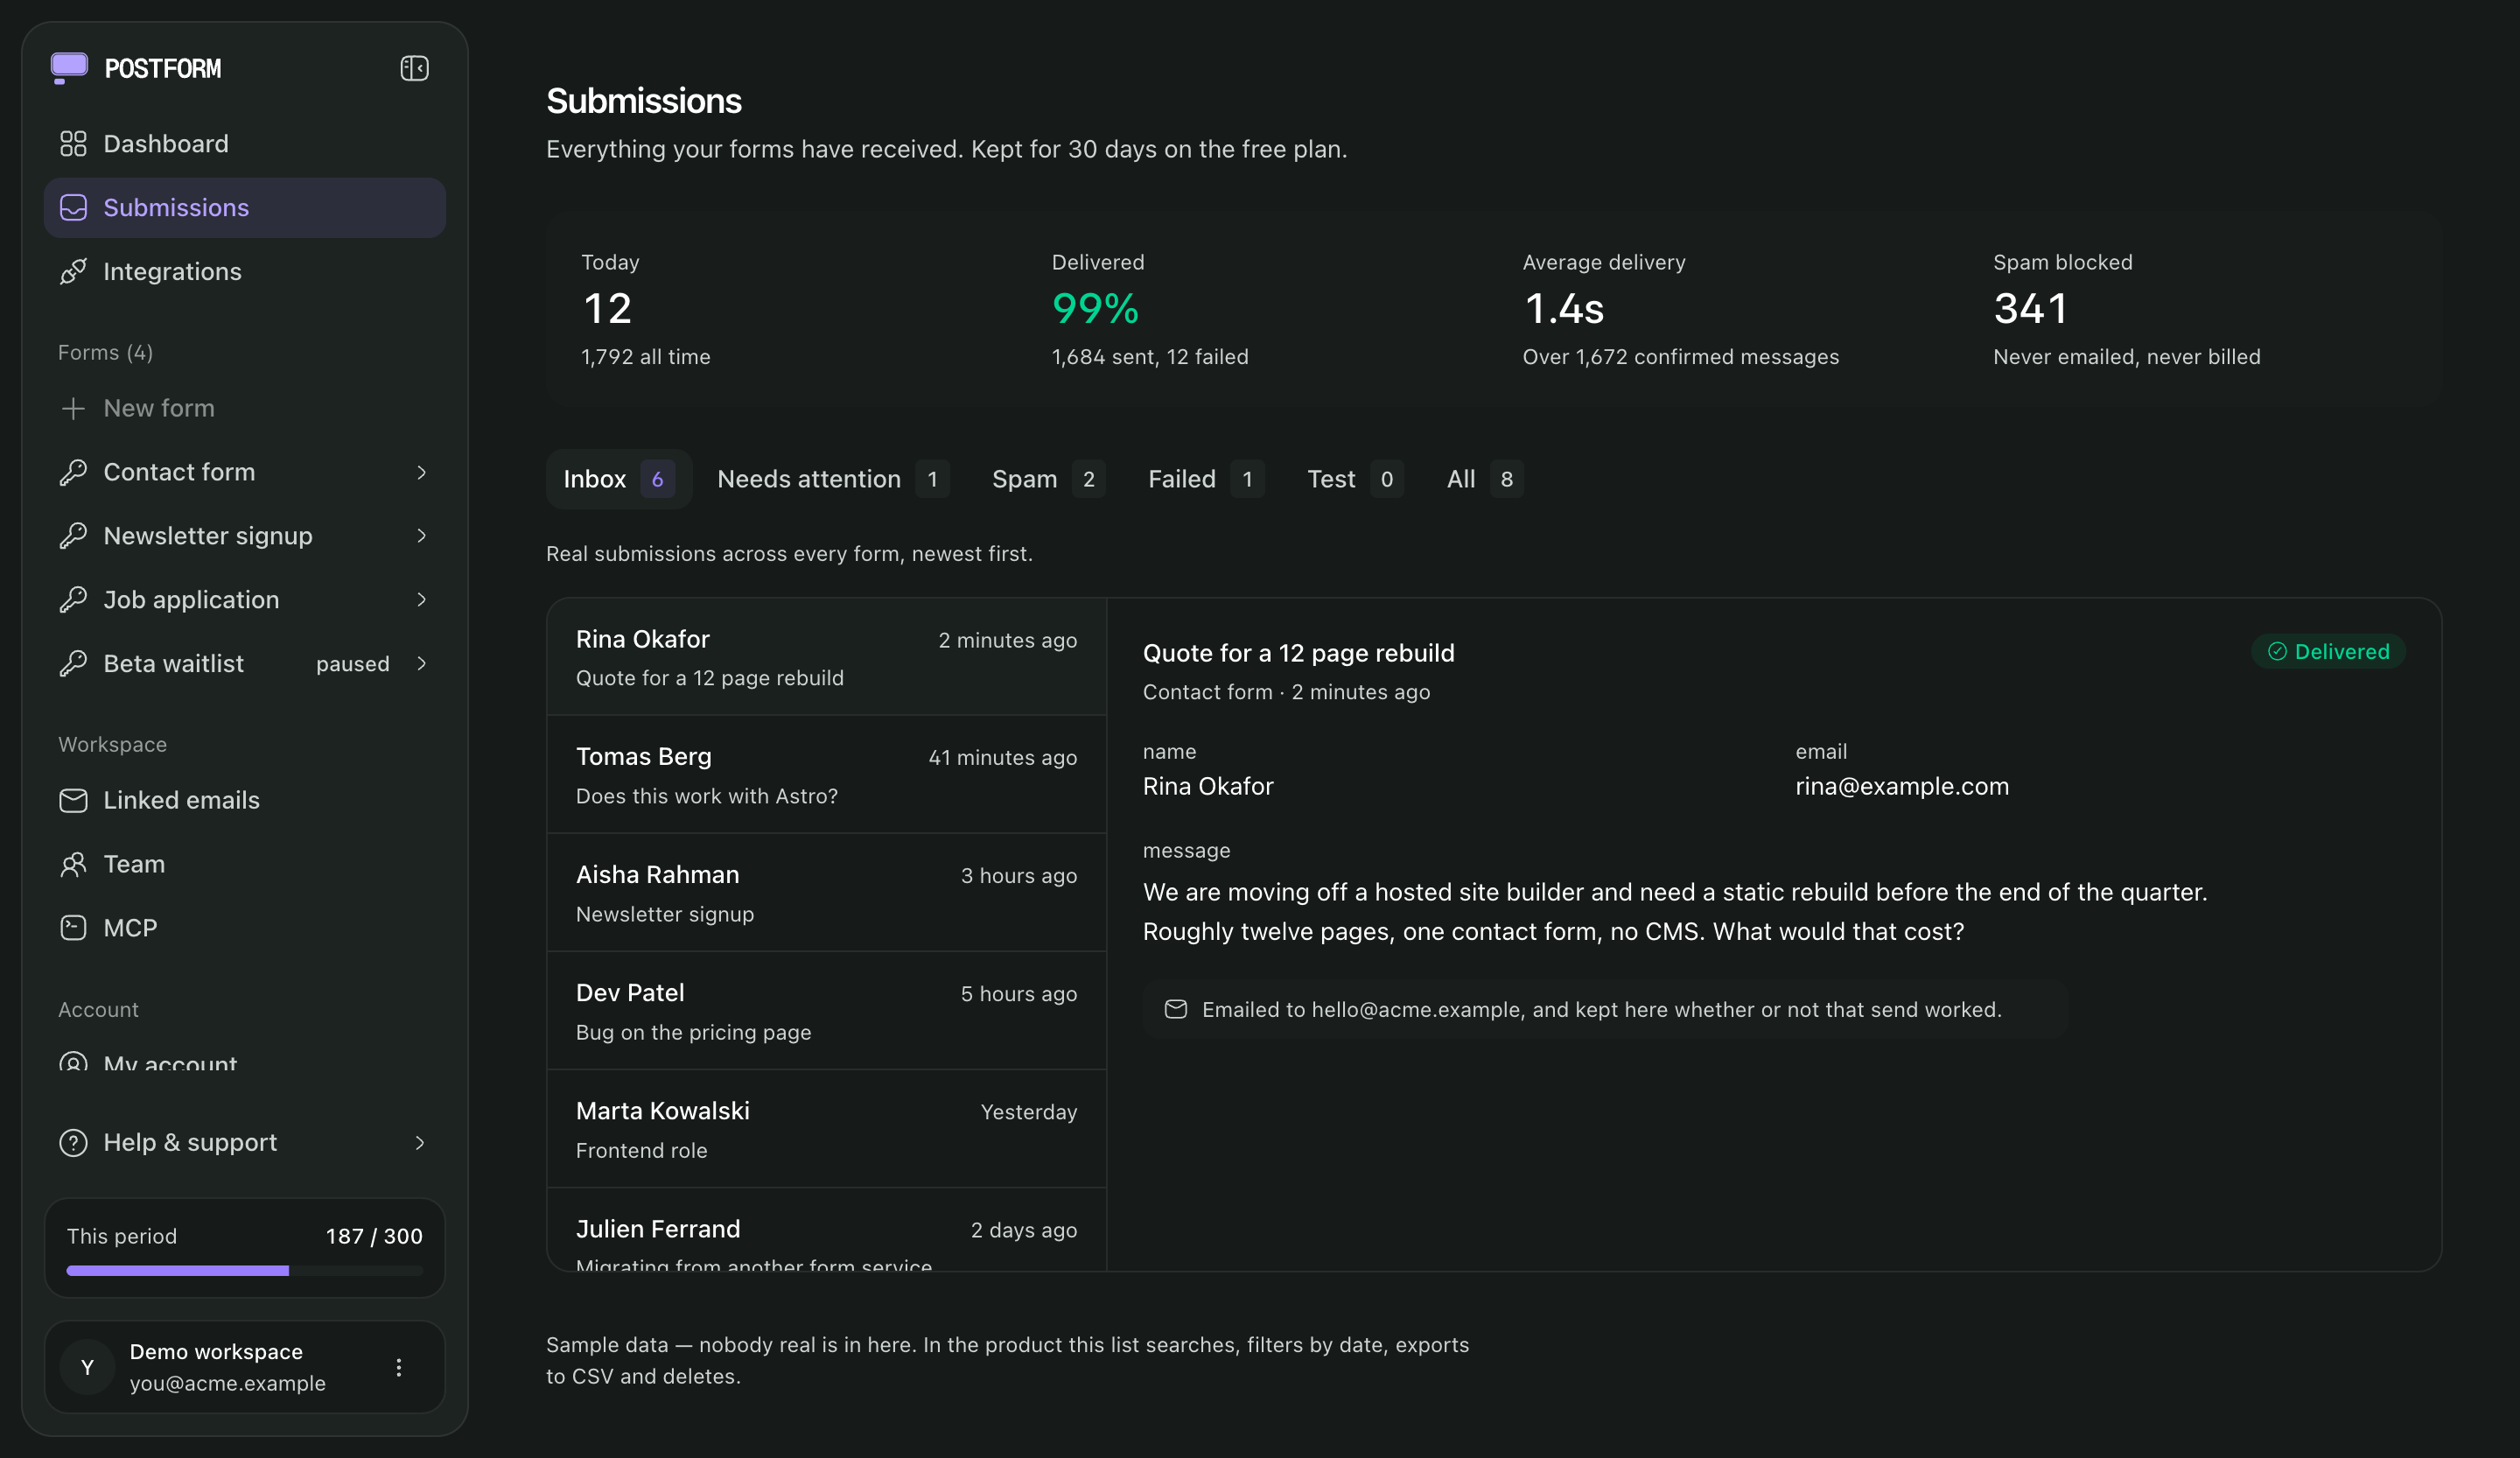
Open your site locally or on a staging URL, fill out the form, and submit it. Within a few seconds you should receive an email at the address you configured, and the submission should appear in the PortForm dashboard under the form you created.
If you do not see the email, check your spam folder first. Then verify the access key in the hidden input matches the one in the dashboard exactly — a mismatched key is the most common cause of silent failures.
Astro
In an Astro project, drop the form into any .astro component or page. Astro ships zero JS by default, so the plain HTML version works without any changes.
---
// src/pages/contact.astro
---
<html lang="en">
  <body>
    <h1>Contact</h1>
    <form action="https://portform.co/api/submit" method="POST">
      <input type="hidden" name="access_key" value="YOUR_KEY">
      <input type="text" name="name" placeholder="Your name" required>
      <input type="email" name="email" placeholder="Your email" required>
      <textarea name="message" placeholder="Your message" required></textarea>
      <input type="checkbox" name="botcheck" style="display:none" tabindex="-1" autocomplete="off">
      <input type="hidden" name="redirect" value="https://yoursite.com/thanks">
      <button type="submit">Send message</button>
    </form>
  </body>
</html>
If you want the fetch version with inline feedback, add a <script> tag or use an Astro island with client:load. The fetch snippet from the earlier section works as-is.
Hugo
Create a partial at layouts/partials/contact-form.html:
<form action="https://portform.co/api/submit" method="POST">
  <input type="hidden" name="access_key" value="{{ .Site.Params.portformKey }}">
  <input type="text" name="name" placeholder="Your name" required>
  <input type="email" name="email" placeholder="Your email" required>
  <textarea name="message" placeholder="Your message" required></textarea>
  <input type="checkbox" name="botcheck" style="display:none" tabindex="-1" autocomplete="off">
  <input type="hidden" name="redirect" value="{{ .Site.BaseURL }}thanks/">
  <button type="submit">Send message</button>
</form>
Then set portformKey in your hugo.toml:
[params]
  portformKey = "YOUR_KEY"
Call the partial from any template with {{ partial "contact-form.html" . }}. Storing the key in site params keeps it out of your template files and makes it easy to swap without hunting through layouts.
Jekyll
Add your access key to _config.yml:
portform_key: "YOUR_KEY"
Then use it in any layout or page with Liquid:
<form action="https://portform.co/api/submit" method="POST">
  <input type="hidden" name="access_key" value="{{ site.portform_key }}">
  <input type="text" name="name" placeholder="Your name" required>
  <input type="email" name="email" placeholder="Your email" required>
  <textarea name="message" placeholder="Your message" required></textarea>
  <input type="checkbox" name="botcheck" style="display:none" tabindex="-1" autocomplete="off">
  <input type="hidden" name="redirect" value="{{ site.url }}/thanks/">
  <button type="submit">Send message</button>
</form>
Jekyll builds to static HTML, so the form submits directly to PortForm with no Jekyll involvement at request time.
Next.js Static Export
A Next.js app exported with output: 'export' in next.config.js is a fully static site — no API routes, no server-side rendering. You cannot use a Next.js API route to handle form submissions in this mode, so a form backend is the right call here.
// app/contact/page.tsx (or pages/contact.tsx)
export default function ContactPage() {
  return (
    <form action="https://portform.co/api/submit" method="POST">
      <input type="hidden" name="access_key" value="YOUR_KEY" />
      <input type="text" name="name" placeholder="Your name" required />
      <input type="email" name="email" placeholder="Your email" required />
      <textarea name="message" placeholder="Your message" required />
      <input type="checkbox" name="botcheck" style={{ display: 'none' }} tabIndex={-1} autoComplete="off" />
      <input type="hidden" name="redirect" value="https://yoursite.com/thanks" />
      <button type="submit">Send message</button>
    </form>
  );
}
For a JavaScript-enhanced experience in Next.js, use the fetch approach with useState for loading and success states. Since this is a static export, there is no Server Action available — the fetch call goes directly to the PortForm endpoint from the client.
Spam Protection
Honeypot (Free, Built-In)
The botcheck field in the form snippet is a honeypot. It is hidden from real users via display:none and tabindex="-1". Most bots fill every visible and hidden field they encounter, so any submission with botcheck checked is discarded automatically.
Spam caught by the honeypot does not count against your 300-submission quota. Only submissions that pass the honeypot check are stored and counted.
The honeypot is on by default with no configuration needed. You just need the botcheck input in your form.
Turnstile and hCaptcha (Pro)
For higher-traffic forms or forms that get spam past the honeypot, PortForm's Pro plan adds Cloudflare Turnstile and hCaptcha. Both run a challenge on the client before the form submits.
To enable Turnstile, add your site key to the form and include the Turnstile script:
<script src="https://challenges.cloudflare.com/turnstile/v0/api.js" async defer></script>

<form action="https://portform.co/api/submit" method="POST">
  <input type="hidden" name="access_key" value="YOUR_KEY">
  <!-- ... other fields ... -->
  <div class="cf-turnstile" data-sitekey="YOUR_TURNSTILE_SITE_KEY"></div>
  <button type="submit">Send message</button>
</form>
PortForm verifies the Turnstile token server-side before accepting the submission. Configure your Turnstile site key in the form settings in the dashboard.
Common Questions
What Happens When You Hit the 300-Submission Limit?
Once your account reaches 300 submissions in the current rolling 30-day window, new submissions are rejected with an over-quota error. The submitter sees an error message rather than a success confirmation. Submissions are not queued — they are dropped until your window resets.
Your window resets 30 days after the last reset, not on the first of the calendar month. The dashboard shows your current count and the exact date your window resets.
If you expect more than 300 submissions per month, upgrading to a paid plan before you hit the limit avoids dropping any contacts. See pricing for plan details.
Do Spam Submissions Count Against Your Quota?
No. Submissions caught by the honeypot are discarded before they reach storage or quota tracking. Only submissions that pass the honeypot check count toward your 300.
If you are on the Pro plan and have Turnstile or hCaptcha enabled, submissions that fail the CAPTCHA challenge also do not count.
Does It Work Without JavaScript?
Yes — this is the primary use case, not an edge case. The plain HTML <form action="..." method="POST"> submits directly to the PortForm endpoint via a standard browser form POST. No JavaScript is involved. The browser navigates to the response URL (your redirect or the default confirmation page) after submission.
The fetch API version requires JavaScript, but the HTML version does not. If you do not need inline success or error messages, skip the JavaScript entirely.
Conclusion
Adding a working contact form to a static site is a 5-minute task. Paste the form snippet, replace YOUR_KEY, and you are done. No server to provision, no database to run, no dependencies to maintain.
PortForm's 300-submission rolling window gives more room than most free tiers in this space, the rolling reset means you do not lose quota to a calendar boundary, and spam caught by the built-in honeypot does not touch your count.
Sign up at portform.co and your first form is ready in minutes.